Photographing from a boat means working on a platform that pitches, rolls, yaws and vibrates, often all at once. The instinct of a landscape photographer — slow down, set up a tripod, take a long exposure — works against you here. The good news is that modern cameras give you everything you need to work quickly, and the motion of the sea can be timed like any other rhythm once you start to feel it.
Shutter speed is your stabiliser
The single most effective decision is a fast shutter. From the deck of a yacht at anchor in a gentle swell, 1/500 s is a reliable baseline with a standard zoom. From a tender under way, or with a telephoto lens, 1/1000 s or faster is safer. Let ISO float upward to protect that speed. A clean ISO 1600 image is worth far more than a soft ISO 100 one, and in-body or lens stabilisation helps with hand shake but cannot cancel the boat's own movement.
Why the tripod stays below
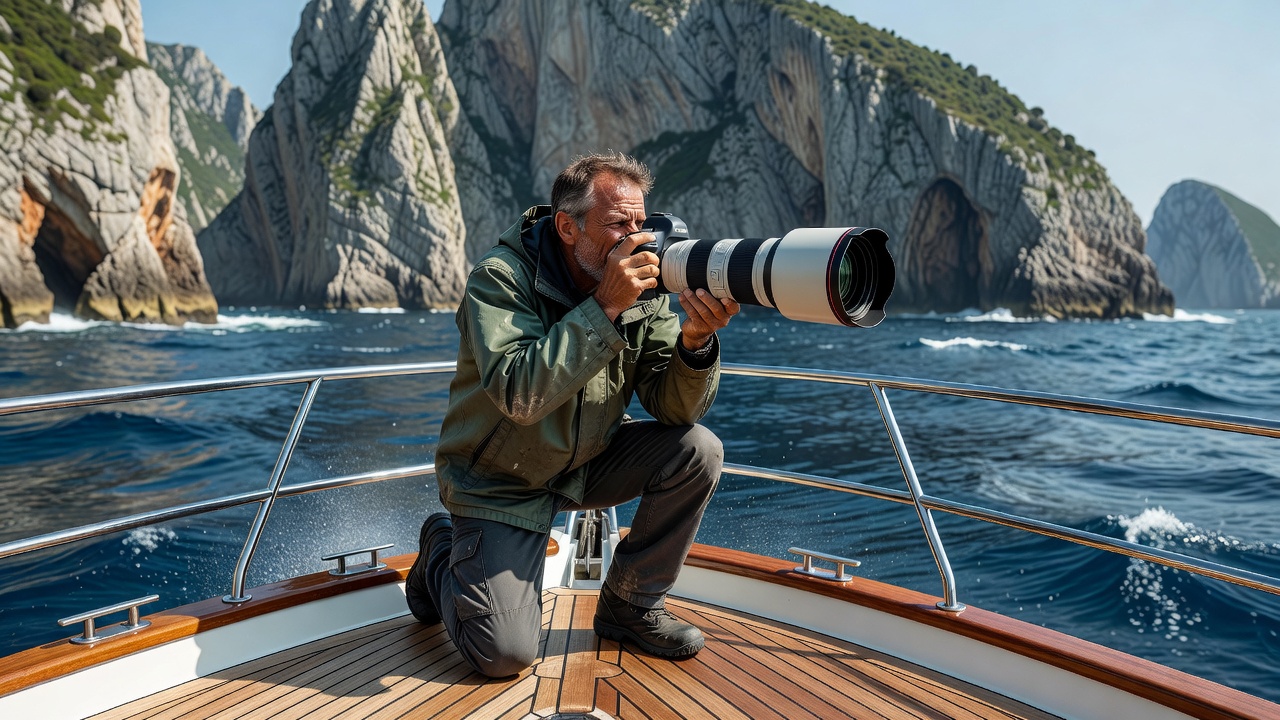
A tripod locks the camera to the hull, so every movement of the boat is transmitted straight into the image. On a moving vessel, your body is a better mount: knees slightly bent, weight low, a hip or shoulder against the mast, rail or coachroof. Hold the camera close, elbows tucked, and let your legs absorb the roll. A monopod braced against the body can help with very heavy lenses; a gimbal suits video more than stills.
Timing the swell
Every swell has a moment of stillness at its crest and its trough, when the boat pauses before changing direction. Watch the horizon through the viewfinder for a few cycles, then shoot short bursts as it slows. The pause is long enough for a sharp frame and often brings the horizon back to level by itself. Keep one hand for the boat whenever you are moving around the deck, and always shoot from a position the skipper is happy with.
Keeping the horizon level
Turn on the electronic level in your viewfinder. On a small screen a horizon tilted by a single degree can look straight, but it will be obvious in print. If the scene contains a strong vertical, such as a lighthouse, prioritise it alongside the sea line. Leave a little room around the frame so slight corrections in editing do not cut into your composition.
Lens choices from the water
A 24–70 mm covers cockpit scenes and wide anchorages. A 70–200 mm is the workhorse for cliffs and lighthouses, letting you compress layered headlands and work from a respectful distance. A 100–400 mm helps with offshore towers and wildlife on stacks, but demands the fastest shutter speeds of all. Change lenses below deck or in a sheltered spot; salt spray on a sensor is hard to remove.
A tender at water level gives you the cliff's full height. A yacht's deck gives you the coast's full length. Use both.
Drones from boats
Launching and recovering a drone from a moving deck is genuinely difficult, and many coastal areas — national parks, nature reserves, sites near airports, and marine protected zones — restrict or prohibit drone flight. Rules are set by national aviation authorities and local bodies and vary widely. Check them in advance for each country, and never fly over people or other vessels without permission.
Salt, spray and condensation
Salt is the coastal photographer's quiet enemy. Wipe the front element often with a microfibre cloth, keep gear in a dry bag in the tender, and wipe the camera body with a barely damp cloth of fresh water at the end of the day. Moving from an air-conditioned cabin into warm, humid air will fog lenses; bring the bag on deck in advance and let it acclimatise.