On land, light is something that falls on the scene. On the coast, it is also something the scene throws back. Chalk reflects almost everything; basalt absorbs almost everything; the sea does both, depending on the angle between the sun, the water and your lens. Photographers who arrive with settings decided in advance tend to come home with burnt white cliffs and muddy dark seas. Photographers who look first tend to come home with the coast.
Orientation comes first
Before thinking about time of day, think about which way the coast faces. A cliff facing west receives raking light in the late afternoon and glows at sunset; a cliff facing east does the same at dawn and sits in shadow by evening. South-facing coasts in the northern hemisphere are lit for most of the day but rarely side-lit, which flattens texture. North-facing coasts are often in shadow and can be beautiful in soft, even light under cloud.
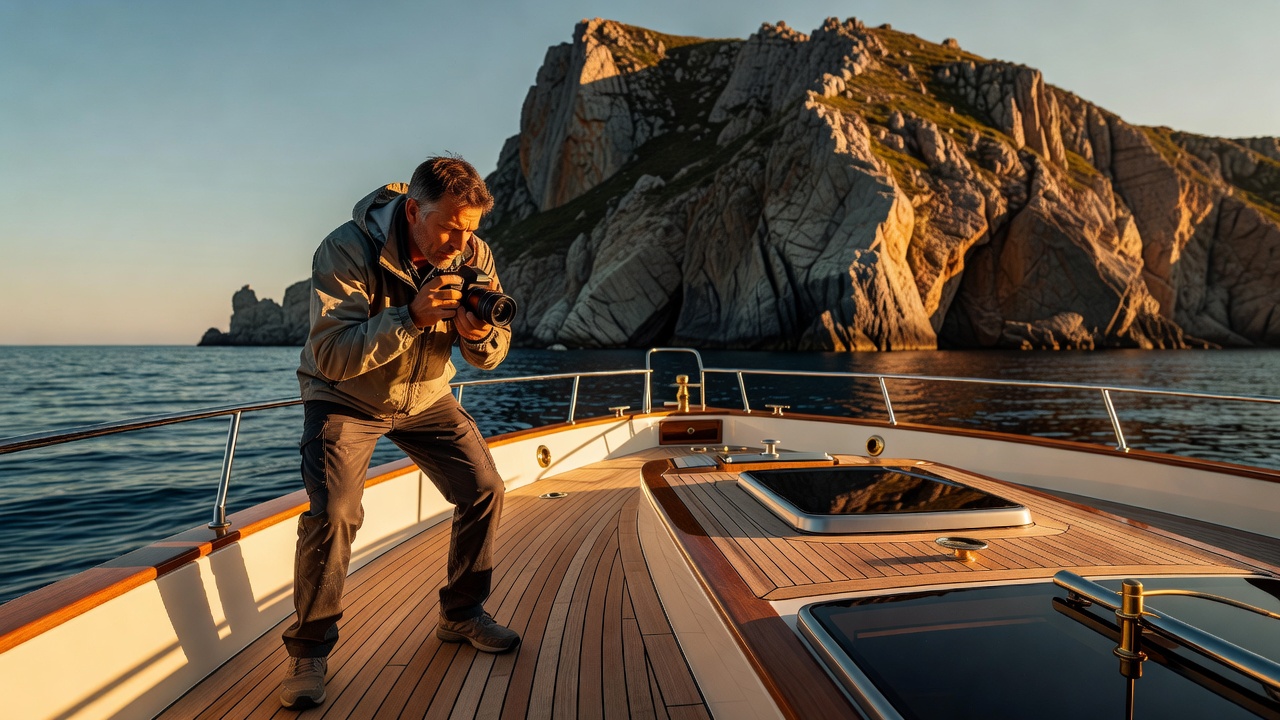
From a yacht you have a freedom the shore photographer lacks: you can choose your angle to the light by choosing your position, within the limits of safe water. Shooting across the light, with the sun at ninety degrees, reveals texture in rock. Shooting into it gives silhouettes and glittering water. Shooting with the sun behind you gives clean colour but little depth.
Rock colour and the histogram
Pale chalk and limestone — at Étretat, Bonifacio or the Seven Sisters in Sussex — will fool a camera's meter into underexposure, but in direct sun they also clip easily. Expose to keep detail in the brightest sunlit face, then lift shadows later. Dark volcanic rock, as on the coasts of Lanzarote or Santorini's caldera, behaves the opposite way: the meter tends to overexpose, and the sky goes white. Use exposure compensation deliberately and check highlights, not the preview image's general impression.
Haze, salt and distance
The air over the sea is full of moisture and salt. Over a kilometre or two this softens contrast and lifts the shadows, which is why distant headlands look pale and layered. This aerial perspective is a gift: stacked headlands receding into haze are one of the defining images of coastal photography. It is also a trap for telephoto work, where haze can make a lighthouse look flat. A shorter distance, or the clearer air after rain, often solves it.
The sea is the largest reflector you will ever work with. Decide whether you want its glitter or its colour, and turn the polariser accordingly.
Polarisers and the sea surface
A circular polariser does more on the coast than anywhere else. Turned one way, it removes glare from the water so you can see into the shallows of a cove; turned the other, it keeps the sparkle of a sunlit sea. It works most strongly at about ninety degrees to the sun. Beware wide-angle lenses, where the effect varies across the sky, and remember a polariser costs one to two stops — significant when the boat is moving.
Twilight and lighthouses
After the sun sets, the sky evens out and a lighthouse beam becomes visible. This is the classic window for lighthouse panoramas, but on a moving yacht the falling light pushes shutter speeds down. Raise ISO before you lengthen the exposure; modern sensors handle noise far better than any photographer handles a rocking hull.
| Situation | Shutter | Aperture | Note |
|---|---|---|---|
| Sunlit chalk cliff | 1/1000 s | f/8 | −0.7 EV to protect highlights |
| Shaded cove | 1/500 s | f/5.6 | Polariser for water colour |
| Sunset into the light | 1/1000 s | f/8–f/11 | Expose for the sky |
| Lighthouse at twilight | 1/250 s | f/2.8–f/4 | ISO 3200–6400 is acceptable |